
There comes a time in the life of every home when the carpet just has to go. Maybe it’s stained beyond salvation, riddled with dust mites, or simply out of fashion. Whatever the reason, removing an old carpet is more than just yanking it up from the floor—it’s a process that, when done right, paves the way for something better beneath your feet. Whether you’re aiming to install hardwood, laminate, tile, or keep things bare and rustic, a smooth, clean subfloor starts with knowing exactly how to say goodbye to that aging carpet.
The good news is you don’t need to be a professional to do it properly. With the right approach, a bit of patience, and the willingness to get your hands dirty, you can tackle this task yourself. This guide breaks down the steps of carpet removal with precision and creativity, guiding you through preparation, safety, dismantling, cleanup, and disposal. No fluff, just action. Let’s get started.
Clearing the Space with Intention
Before anything else, the space must be cleared entirely. Every last piece of furniture, rug, curtain, or stray sock has to find another home—at least temporarily. Remove anything that could obstruct your path or get damaged in the process. Doors that swing inward should be popped off their hinges, especially closet doors, to give you full freedom to work edge to edge. A clean slate is your best friend here.
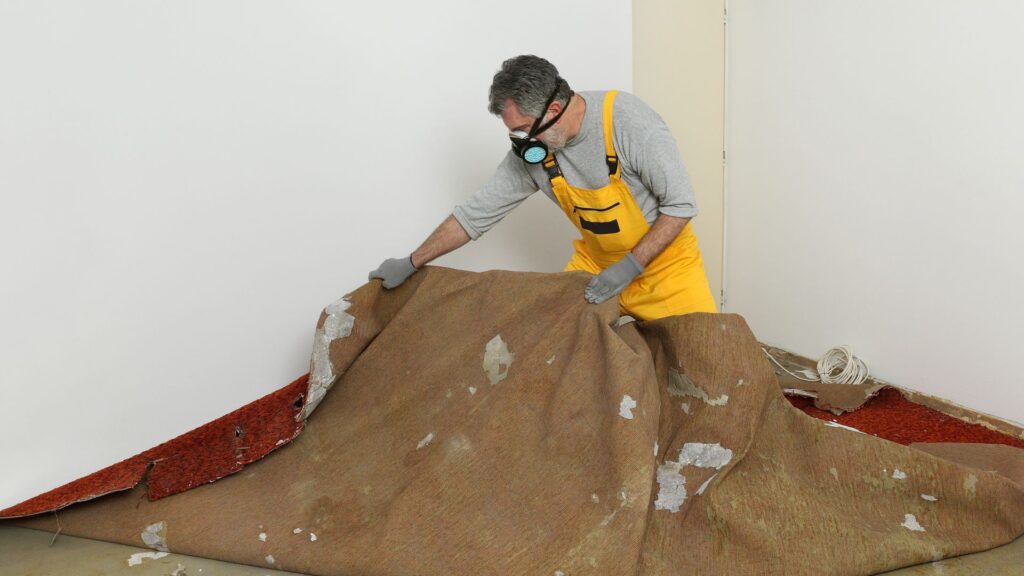
This is the moment to suit up. You’ll want gloves to protect your hands from sharp tack strips, knee pads to prevent the ache of prolonged kneeling, and a dust mask to shield your lungs from decades of fiber and debris. Eye protection is smart, too—tiny splinters love to take flight when tack strips are involved. Once geared up and cleared out, the room becomes a blank canvas, ready for the unraveling of what lies underfoot.
Finding the First Weak Point
Start by heading to a corner of the room and trying to get a grip under the carpet. Sometimes the edge will lift easily with pliers or even your gloved hand. Other times, you’ll need to make a small cut with a utility knife to create a starting flap. The goal here is simple—free a portion of the carpet from the tack strip holding it to the floor along the wall.
Once the edge gives way, pull it slowly and firmly. The sound is a satisfying crunch as the carpet releases from its grasp. Work your way along the wall, folding the carpet back as you go. This process repeats around the perimeter. It’s not glamorous, but this stage sets the tone for everything that follows. Steady progress beats brute force—always.
Slicing and Dicing with Precision
With part of the carpet folded over and the backing exposed, it’s time to cut it into manageable strips. Use a sharp utility knife and slice from the underside, which is easier than cutting through the top fibers. Keep the strips around arm’s width for easy rolling and lifting. Trying to carry larger pieces might seem faster, but they quickly become cumbersome and heavy.
As you cut, keep your lines straight and consistent. Folding each strip as you go helps maintain order and keeps dust from flying everywhere. It’s a meditative rhythm: cut, fold, move. Don’t forget to change your knife blade often—dull blades tear more than they slice and create unnecessary resistance. This is where the work starts to feel productive, like you’re dismantling the past layer by layer.
Rolling Like a Pro
Now that you’ve got strips, each one needs to be rolled tightly. Begin at one end and wind it in like a scroll. A tight roll makes for easier lifting, cleaner transport, and neater disposal. Use duct tape to secure the rolls so they don’t come undone in transit. This part of the process is all about containment and control.
As you build your pile of rolled carpet, keep them off to the side of the room to avoid tripping hazards. It’s surprising how quickly a single room’s worth of carpet can stack up once condensed into rolls. Keeping them organized will pay off when it’s time to haul them out or load them up for disposal. You’re not just pulling carpet—you’re packaging the past.
Getting Underneath the Surface
Underneath the carpet lies the padding. It’s usually stapled to the subfloor or, on concrete, adhered with glue. This material is thinner and lighter than the carpet, but it tears easily and clings stubbornly to staples. Peel it up in sections, similar to the carpet, and cut it into smaller pieces if necessary for ease of handling.
Removing the padding often reveals an unpleasant truth: leftover staples by the dozen. Sometimes hundreds. Use pliers, a floor scraper, or a flathead screwdriver to remove each one. If the padding was glued down, a sharp scraper helps lift stuck patches. Take your time. This part demands patience, but it also prepares the floor for its next life.
Lifting the Hidden Threats
Tack strips are the unsung villains of carpet installation. These thin wooden boards are studded with sharp nails and run the perimeter of the room, holding the carpet taut. While they did their job for years, now it’s time for them to go. Use a pry bar or flat tool to get underneath and lift them carefully. They tend to splinter and bite back.
You’ll want to wear gloves and step lightly. Tack strips on concrete may require a bit more muscle, especially if moisture has caused them to bind over time. Once removed, stack them carefully on top of the padding or roll them inside it to avoid punctures during disposal. One by one, your floor becomes less hostile.
The Final Sweep
With the carpet, padding, and tack strips gone, your attention should turn to what remains. Bits of foam, loose staples, stray nails, and dust—lots and lots of dust. Sweep the room thoroughly. Then vacuum. Then sweep again. If you’ve got a shop vac, even better. The cleaner the subfloor, the easier your next flooring phase will be.
Take this opportunity to inspect the condition of the subfloor. Are there creaks, soft spots, or water damage? Now’s the time to address them. Repair loose boards, apply filler to small holes, or patch concrete cracks. You’ve exposed the skeleton of your floor—it deserves a little care before being dressed again.
Navigating Carpeted Stairs
Stairs bring a unique twist to carpet removal. You’ll want to start from the top and work your way down, removing carpet in short sections. A stair’s angle makes large pieces unwieldy, so keep cuts small and manageable. Pull back the carpet gently, watching for staples at every edge and corner.
Use a pry tool or pliers to remove any fasteners left behind. Padding on stairs is often glued more thoroughly than in flat rooms, and tack strips may run along both the front and side edges. Safety is paramount—stairs don’t forgive missteps. Work methodically and brace yourself as you go. The reward is a full view of your clean, bare steps.
Making a Clean Getaway
Now that the carpet is gone and the room is cleaned, it’s time to think about what to do with the remains. You can’t just dump it in the weekly trash. Most municipalities won’t take carpet in standard bins. Instead, check for bulk pickup days, recycling centers that accept carpet materials, or schedule a private removal service.
In some cases, you may be able to donate lightly used carpet to reuse centers, though this is rare. More often, a junk removal company or landfill will be the destination. Proper disposal isn’t just responsible—it’s often required. Keep your rolls bound tightly and stacked neatly to simplify the process. One last effort, and it’s out of your life for good.
Finding Your Flow
There’s a certain tempo to carpet removal that you discover as you go. At first, it’s trial and error—testing corners, figuring out tools. But once you hit your stride, the rhythm kicks in. Pull, fold, cut, roll, tape, remove. It becomes second nature. You’ll find satisfaction in watching your progress physically stack up before your eyes.
Don’t rush it. Hurrying leads to sloppy cuts, leftover debris, and a sore back. Take breaks. Drink water. Play some music to stay energized. This project demands effort, yes—but the payoff is worth every bead of sweat. The more mindful your pace, the smoother everything will go.
Conclusion
Peeling back old carpet isn’t just a physical task—it’s a transformation. With patience, preparation, and the right approach, you can handle the entire process yourself. Each layer you remove brings you closer to a fresh foundation for your home. Carpet removal might be dusty and demanding, but it’s also strangely satisfying. What begins as a daunting mess soon becomes an orderly stack of rolled history, ready to be carried away.
If you’re in the Ventura, California area and need help with the heavy lifting, Mobile Dump Junk Removal is here for you. With professional junk removal services that include carpet disposal and more, their team makes it easy to reclaim your space. Call (805) 751-3744 or email mobiledumpremoval@gmail.com to get started. Whether you’re remodeling, decluttering, or replacing old flooring, they’ve got your back.