
Every renovation begins with a single decision—what stays and what goes. When walls need a fresh start, drywall removal often becomes the first and most essential step. Over time, drywall absorbs moisture, sustains damage, or simply outlives its visual appeal. Whether you’re planning to remodel a room or address hidden mold, understanding how and why drywall must be removed helps you approach the project safely and efficiently. It’s more than tearing down old walls—it’s creating a clean foundation for what comes next.
Before diving in, it’s crucial to realize that removing drywall reveals more than just studs and insulation. It can expose structural issues, water leaks, and even electrical hazards. Proper preparation prevents complications later. Knowing what’s behind your walls allows you to fix underlying problems before rebuilding. It’s a process of uncovering and improving—one that requires attention to detail and care from start to finish.
Evaluating the Condition of Your Walls
Before swinging a hammer, take time to assess what you’re working with. Not all drywall damage demands full removal—sometimes patching or partial replacement will do. Signs of deep water stains, bulging, or soft spots typically indicate the drywall’s integrity has failed. Mold and discoloration can also signal hidden moisture problems that need addressing before any new installation begins.
A close inspection of corners, seams, and baseboards often reveals clues about what lies behind the surface. If you notice peeling paint or a musty odor, it could point to insulation or plumbing issues. Handling these problems early ensures your renovation doesn’t turn into a recurring maintenance headache.
Safety Precautions Before You Begin
Removing drywall might look simple, but safety should always come first. The dust created during demolition contains fine particles that can irritate your lungs and eyes, especially in older homes where materials may include lead-based paint or asbestos. Protective gear—respirator masks, gloves, and eye protection—is essential. Always ventilate the space properly, seal off doors and vents, and cover nearby furniture or flooring to prevent dust spread throughout your home.
Electrical safety deserves just as much attention. Before making any cuts or pulls, shut off the power in the area. Wires often run through wall cavities, and one careless move could result in electric shock or damage to your system. Keeping a first-aid kit and fire extinguisher nearby is never over-prepared—it’s smart. A safe workspace keeps your project on track and ensures your focus remains on quality results, not costly or painful accidents.
Gathering the Right Tools and Materials
The right equipment can make drywall removal far smoother and more efficient. A hammer, pry bar, utility knife, and drywall saw are among the most common tools used for tearing down walls. Pair these with heavy-duty trash bags, contractor bins, and tarps for cleanup, and you’ll be ready for the physical side of the task. Choosing sturdy, well-maintained tools minimizes frustration and keeps your work consistent from start to finish.
In addition to the basics, having a shop vacuum on hand helps manage the constant dust. If you’re dealing with multiple rooms, label debris piles to separate recyclable materials like metal corner beads or screws. It’s small organization steps like these that make large projects feel more manageable. The more thoughtfully you prepare your tools and disposal plan, the more efficient and less overwhelming your drywall removal will become.
Planning for Dust and Debris Control
Drywall removal produces a surprising amount of dust—fine, clingy, and persistent. Containing it should be a top priority, not an afterthought. Seal the workspace using plastic sheeting and painter’s tape to prevent particles from drifting into other areas. Turn off HVAC systems temporarily to stop the dust from circulating through vents. Keeping windows slightly open during work helps direct airflow outward, carrying debris away from your living spaces.
Even with good containment, dust will settle. Wiping surfaces frequently and vacuuming with a HEPA filter helps maintain visibility and safety throughout the process. It’s not just about tidiness—excess dust can interfere with breathing, tools, and visibility. The cleaner the workspace, the smoother your demolition will go. Taking these preventive measures ensures your focus remains on precision rather than constant cleanup battles.
Proper Techniques for Removing Drywall
Successful drywall removal is more about precision than brute force. Start by cutting the drywall into sections—manageable panels that can be lifted away cleanly rather than smashed apart. Begin at the seams, gently prying the panels loose with a flat bar or hammer. Working methodically around outlets and fixtures prevents accidental damage to wiring or plumbing hidden behind the wall.
Once a section is loosened, pull it carefully toward you, allowing the screws or nails to release. A magnetic stud finder can help locate remaining fasteners before you move to the next area. Maintaining a steady rhythm—cut, loosen, lift, clear—creates an efficient flow that minimizes debris and keeps your workspace organized. Careful technique doesn’t just preserve your structure; it also saves you time when cleaning and preparing the area for the next phase of renovation.
Handling Insulation and Hidden Hazards
When the drywall comes down, what’s left behind can surprise you. Fiberglass insulation, electrical wiring, or even signs of rodent activity often appear once walls are exposed. Treat insulation carefully—it can irritate skin and lungs if disturbed. Use gloves, long sleeves, and a respirator mask when handling it. If insulation appears wet or moldy, dispose of it safely to prevent contamination.
Pay close attention to pipes and wiring as well. Unexpected nails or screws can puncture or snag cables, so patience is your greatest tool here. If you discover asbestos-containing materials, stop immediately and call in licensed professionals. Ignoring potential hazards is never worth the risk. A careful, respectful approach ensures you protect your home’s integrity and your own well-being throughout the process.
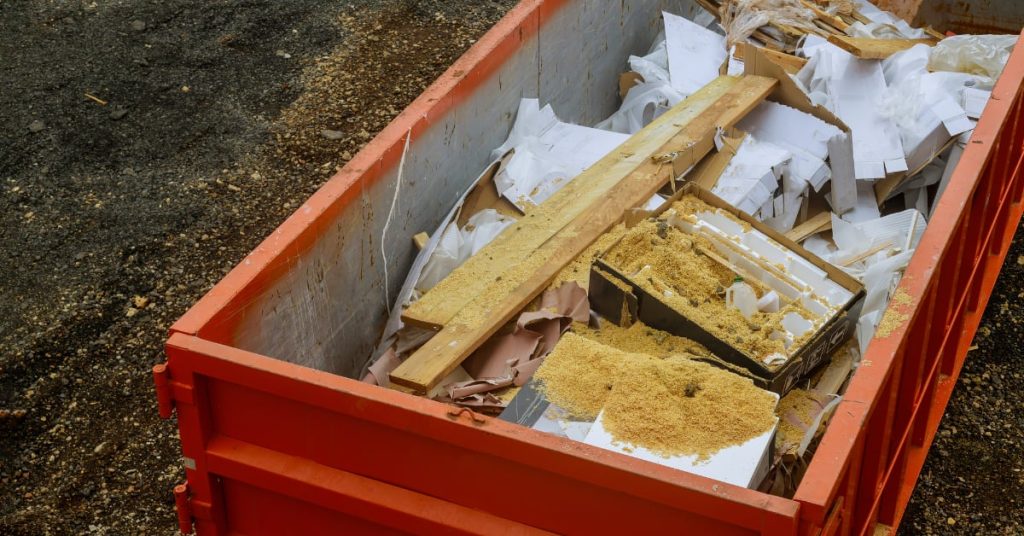
Managing Waste and Responsible Disposal
Once the drywall has been removed, the cleanup begins—and this is where many homeowners underestimate the effort involved. Drywall is heavy, crumbly, and can quickly fill bins or dumpsters. Tossing it in your household trash is rarely an option, as local regulations often require specific disposal methods. Sorting through the debris to separate metal fasteners and recyclable gypsum can reduce environmental impact and save you from extra landfill costs.
Professional junk removal services streamline this part of the process, ensuring all materials are handled properly. They know which facilities accept drywall waste and how to transport it safely. Choosing responsible disposal reflects your commitment not only to a cleaner home but to a healthier environment. By planning for waste management from the start, your renovation stays on schedule, and your conscience stays clear.
When to Hire Professionals for Drywall Removal
While do-it-yourself projects can be rewarding, drywall removal often proves more complicated than expected. Structural concerns, hidden wiring, or extensive mold growth are situations best handled by trained professionals. They bring both experience and equipment to ensure safety and efficiency. For large-scale jobs, the speed and thoroughness of a professional crew can make the difference between a stressful renovation and a smooth transformation.
Beyond safety, professionals handle every stage—from preparation and demolition to cleanup and disposal. Their familiarity with building codes and waste regulations saves you from fines and headaches. Plus, they can spot potential issues before they turn into costly repairs. Hiring experts ensures your walls are cleared with precision and care, giving your new project the flawless foundation it deserves. Sometimes, bringing in help isn’t a luxury—it’s a smart investment.
Preparing for the Next Phase of Renovation
Once the drywall is gone, you’re left with a blank canvas—studs, wiring, and open potential. This is the perfect time to evaluate insulation, reconfigure electrical layouts, or add soundproofing. With the walls exposed, even small updates become much easier and more affordable. Think of it as a brief window of opportunity before new materials close everything up again.
Sweeping, vacuuming, and inspecting the exposed structure should come next. Look for any damage or weak framing that may need reinforcement before new drywall goes in. Addressing issues now avoids future frustration and costly rework. By transitioning carefully from demolition to reconstruction, you set the stage for a cleaner, safer, and more polished finished space. A solid start paves the way for lasting results.
The Cost and Time Investment of Drywall Removal
Drywall removal costs vary widely depending on the project size, wall condition, and disposal requirements. What might seem like a weekend task can stretch into several days once cleanup and repair work begin. DIY efforts save labor costs but require your time, energy, and access to proper tools and disposal resources. Meanwhile, hiring professionals often shortens timelines significantly and includes waste handling, transportation, and site cleanup.
Material weight also affects disposal fees, especially when dealing with multiple rooms or commercial spaces. Estimating both time and cost realistically helps prevent burnout and budget surprises. Whether you do it yourself or hire help, approaching drywall removal with an informed plan ensures every hour and dollar contributes to meaningful progress, not unnecessary setbacks.
Conclusion
Drywall removal may seem like a messy and demanding first step, but it serves as the true foundation of any successful renovation. Beyond tearing down old walls, the process uncovers what lies beneath—hidden leaks, aging insulation, or structural weaknesses that can compromise your home’s integrity. Each stage, from preparation to cleanup, calls for careful handling, patience, and precision to ensure a safe and efficient transformation. Removing damaged or outdated drywall gives your space a clean slate, opening the door to modern design possibilities and lasting improvements that enhance comfort and value.
When the task requires skill, safety, and dependable results, trust Mobile Dump Junk Removal in Ventura, CA. Their experienced team manages drywall removal, debris hauling, and eco-friendly disposal with unmatched professionalism. Contact them at 805 751-3744 or email mobiledumpremoval@gmail.com to schedule a service today and take the first confident step toward a cleaner, stronger, and beautifully renewed space.